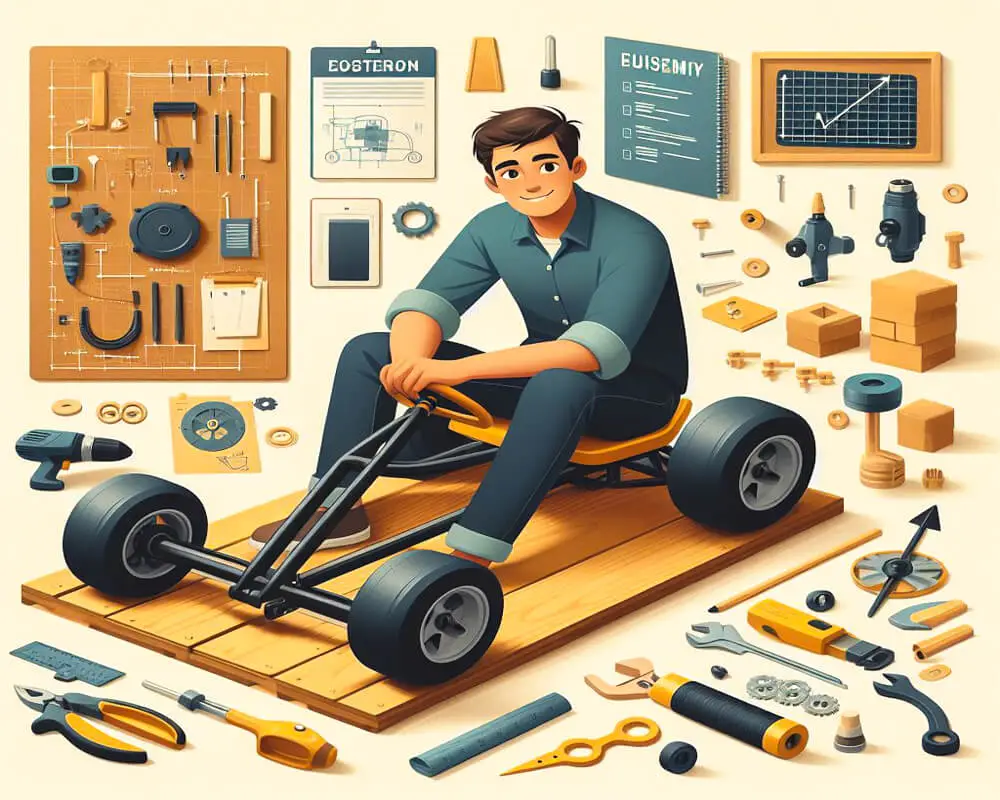
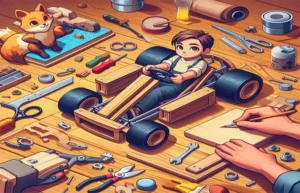
How to Build a Cheap Go-Kart?
Building a go-kart doesn’t have to break the bank. Whether you’re a DIY enthusiast or looking for a fun project with your kids, constructing a go-kart can be an affordable and rewarding experience.
This guide will walk you through the process of building a cheap go-kart, ensuring it is both cost-effective and functional.
Planning Your Go-Kart Build
1. Setting a Budget
Before you start building, it’s essential to set a realistic budget. For this project, we aim to keep the cost under $500.
This budget includes all necessary materials, components, and tools you might need to purchase.
2. Materials and Tools
To build a cheap go-kart, you’ll need the following materials and tools:
- Frame Materials: Steel tubing or aluminum extrusions
- Wheels and Tires: Preferably from old lawnmowers or wheelbarrows
- Engine: A small engine, such as a 6.5 HP engine from Harbor Freight
- Steering Components: Steering wheel, column, and tie rods
- Brakes: Mechanical disc brakes or drum brakes
- Seat: Any comfortable, sturdy seat
- Miscellaneous: Bolts, nuts, washers, and other fasteners
3. Sourcing Parts
One of the best ways to save money is to source parts from junkyards, online marketplaces like eBay or Craigslist, and discount stores. Look for deals on engines, wheels, and other components.
Dumpster diving and visiting local scrapyards can also yield valuable parts for free or at a low cost.
Building the Frame of go kart
1. Designing the Frame
The frame is the backbone of your go-kart. It needs to be strong enough to support the weight of the driver and withstand the stresses of driving.
A simple rectangular frame with reinforced corners is a good starting point.
2. Cutting and Assembling the Frame
- Measure and Cut: Measure and cut the steel tubing or aluminum extrusions to the desired dimensions.
- Weld or Bolt Together: If you have welding skills and equipment, weld the pieces together. Alternatively, you can use bolts and brackets to assemble the frame.
Installing the Wheels and Axles
1. Front Wheels and Steering
- Attach Stub Axles: Secure the front stub axles to the frame using brackets or welded mounts.
- Install Steering Components: Mount the steering column and tie rods. Ensure the steering mechanism is smooth and responsive.
2. Rear Axle and Drive
- Mount the Rear Axle: Attach the rear axle to the frame. If using a solid axle, ensure it is properly aligned.
- Install the Engine: Mount the engine securely to the frame. Align the drive chain or belt with the rear axle sprocket.
Setting Up the Brakes
Brake Installation
- Mount the Brakes: Install mechanical disc brakes or drum brakes on the rear axle. Ensure they are securely attached and aligned.
- Connect Brake Controls: Run the brake cable from the brake pedal to the brake mechanism. Test the brakes to ensure they function correctly.
Adding the Finishing Touches
1. Installing the Seat
- Secure the Seat: Mount the seat to the frame using bolts. Ensure it is comfortable and securely attached.
2. Electrical Components (if applicable)
- Wire the Engine: If your engine has an electric start or other electrical components, follow the manufacturer’s instructions to wire them correctly.
3. Safety Features
- Add a Seatbelt: For added safety, install a seatbelt.
- Check All Connections: Ensure all bolts and nuts are tight, and all components are securely attached.
Testing and Adjustments
1. Initial Test Drive
- Safety Check: Before your first test drive, perform a thorough safety check.
- Test Drive: Conduct a slow test drive to ensure everything functions correctly. Pay attention to steering, brakes, and engine performance.
2. Adjustments and Tuning
-
- Make Necessary Adjustments: Based on your test drive, make any necessary adjustments to improve performance and safety.
- Regular Maintenance: Regularly check and maintain your go-kart to keep it in good working condition.
FAQs
What materials are best for building a go-kart frame?
You can use either metal pipes (steel or aluminum) or treated wooden beams. Metal frames offer greater strength and durability, while wood can be easier to work with and more cost-effective.
Where can I source the materials for building a go-kart?
Materials can be found at local hardware stores, online retailers, or even salvaged from old machinery. Websites like eBay, Craigslist, or specialized karting supply stores are good places to look.
What type of motor should I use for a cheap go-kart?
A small gasoline engine or an electric motor can be used. Lawn mower engines, chainsaw motors, or small electric motors from scooters are popular choices due to their availability and affordability.
How do I ensure the frame is sturdy?
Ensure all joints are tightly secured with bolts and nuts. Use a square to check that the frame is properly aligned and not warped. Reinforce critical points with additional brackets or welds if using metal.
How can I align the motor sprocket with the rear axle?
Use a straight edge or a laser alignment tool to ensure the sprocket on the motor lines up perfectly with the sprocket on the rear axle. Misalignment can cause chain slippage and wear.
Conclusion
Building a cheap go-kart is a rewarding project that can provide hours of fun. By carefully planning, sourcing affordable parts, and following this guide, you can create a functional and safe go-kart without breaking the bank. Remember to prioritize safety throughout the build process and during operation. Happy building and racing!
By adhering to these steps and tips, you can build a go-kart that meets your needs and stays within your budget. Enjoy the thrill of driving a machine you’ve built with your own hands!